How to Log Expenses in Odoo and Make Your Finances Work for You
You’re not alone if you’re wondering how to log expenses in Odoo.
Thousands of companies worldwide rely on Odoo to manage business operations- from inventory to CRM – and one of the most essential modules is the Odoo 18 Expenses App. Why? Because managing expenses is more than just paperwork – it’s your money, your operations, and your team’s accountability.
In this blog, we’ll guide you step-by-step through logging expenses in Odoo, showing you how to save time, ensure accuracy, and make smarter decisions with Odoo 18 expense tracking tools.
We’ll also show how Netilligence – an Odoo Partner with over 10 years of expertise – can help you supercharge your Odoo expense management experience.
Whether you’re a business owner, a team manager, or a financial controller – this blog is for you.
Why Knowing How to Log Expenses in Odoo 18?
Understanding how to log expenses in Odoo 18 properly isn’t just for your accountant – it impacts your budget, profitability, and team productivity.
Here’s why companies across industries rely on the Odoo Expenses App:
Mobile-friendly expense submissions
Fast receipt uploads
Facilitated Odoo expense entry
Transparent approval process
Influential Odoo expense report tools
These features work together to make your Odoo expense management efficient, centralized, and headache-free.
Step-by-Step Guide: How to Log Expenses in Odoo 18 Like a Pro
Here’s the real value: a quick, easy, and practical breakdown of how to log expenses in Odoo using the built-in tools.
Step 1 – Install and Activate the Odoo 18 Expenses App
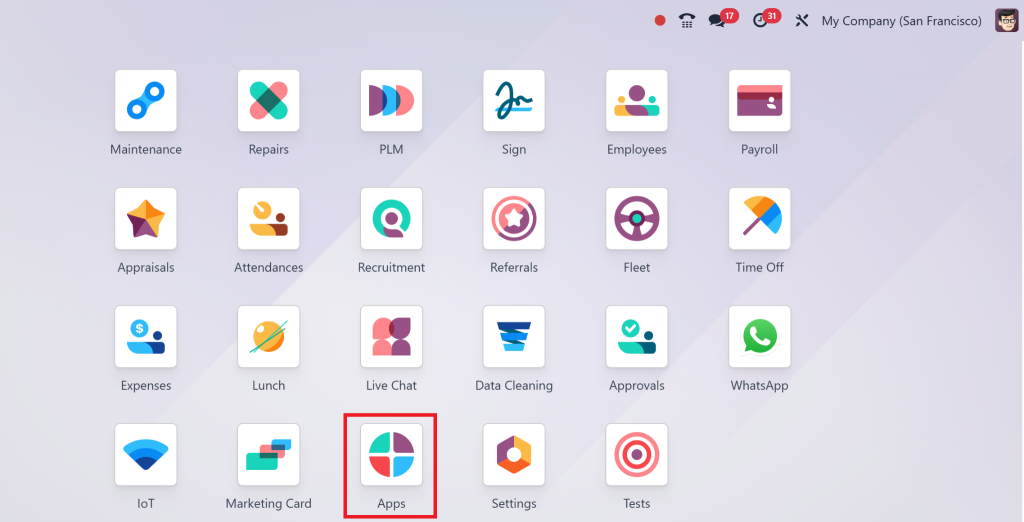
Go to Apps in Odoo
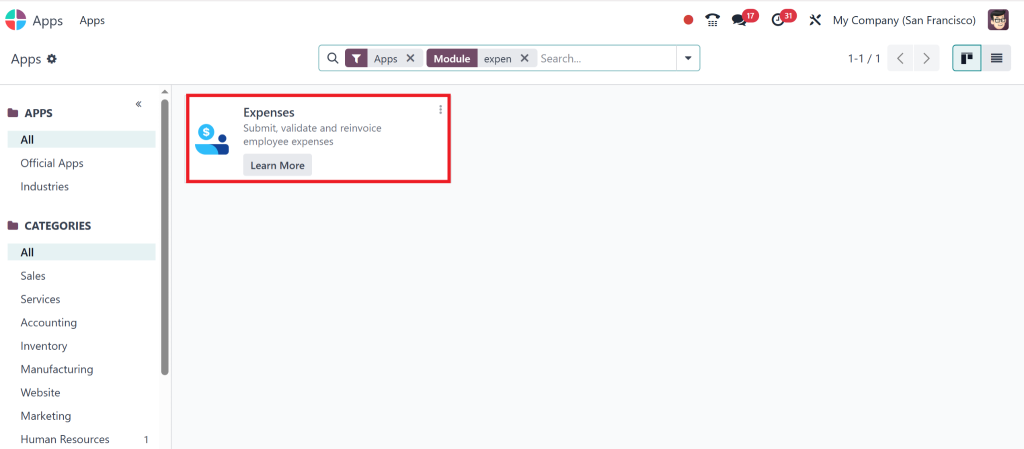
Search for “Expenses”
Click Install to activate it.
Congratulations! You’re on your way to mastering Odoo log expense workflows.
Step 2 – Create a New Odoo 18 Expense Entry
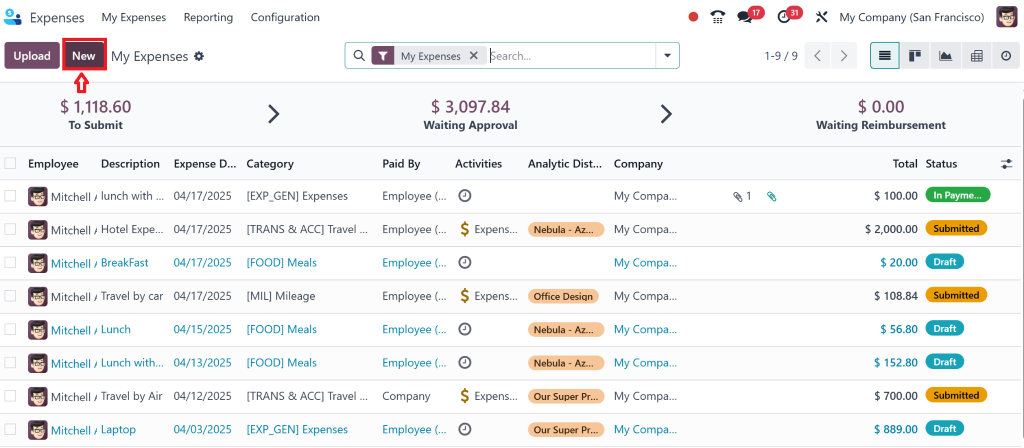
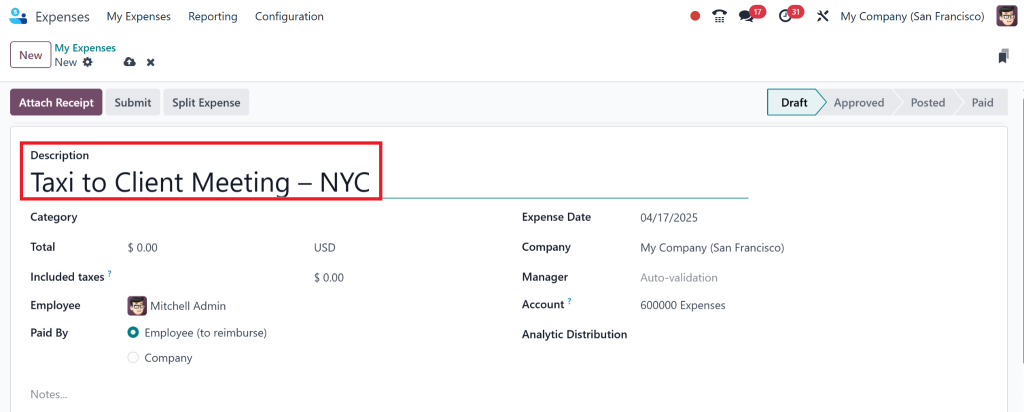
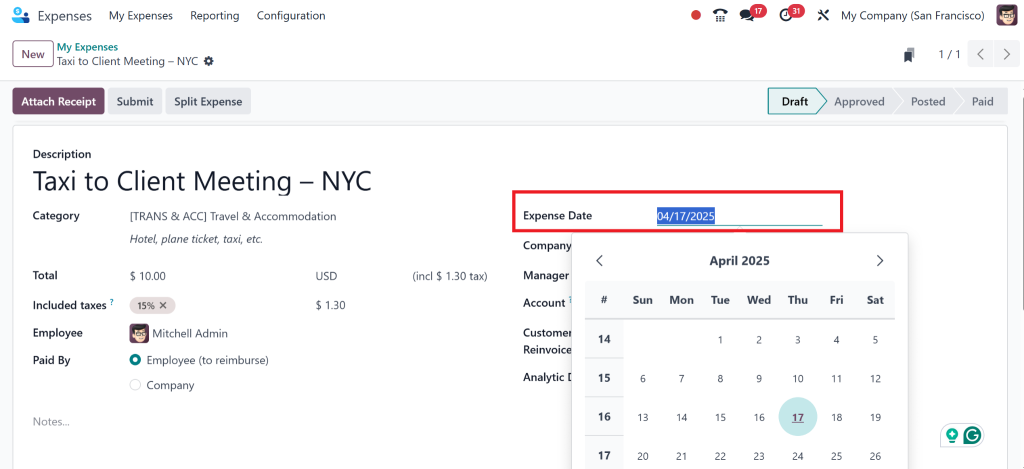
Now head to Expenses > My Expenses and hit Create.
You’ll see a simple form. Enter:
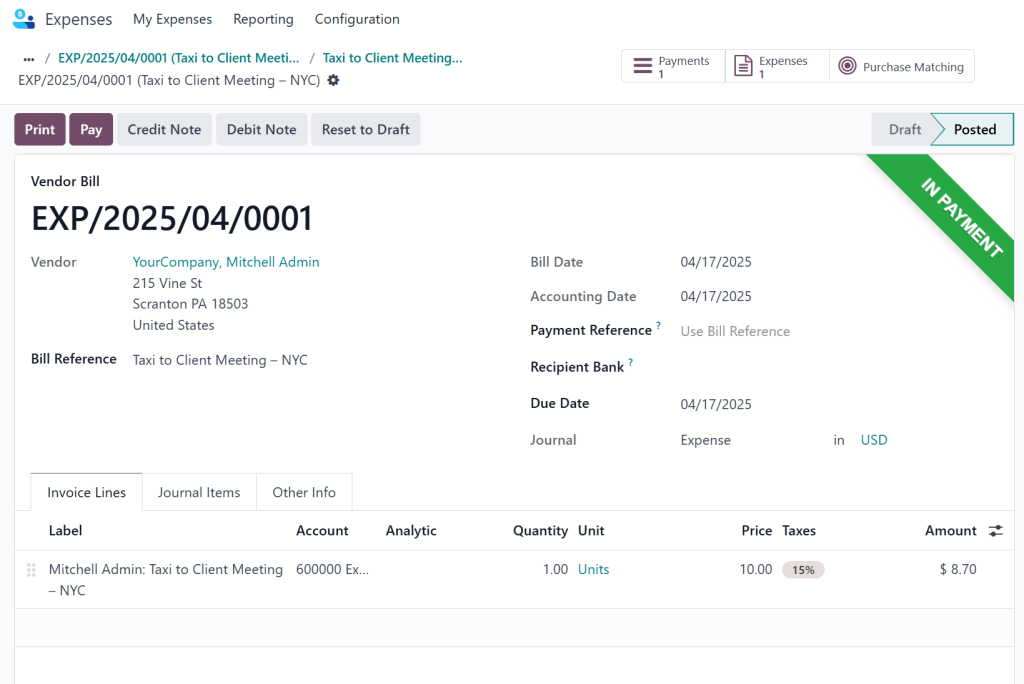
Description: Be specific (e.g., “Taxi to Client Meeting – NYC”)
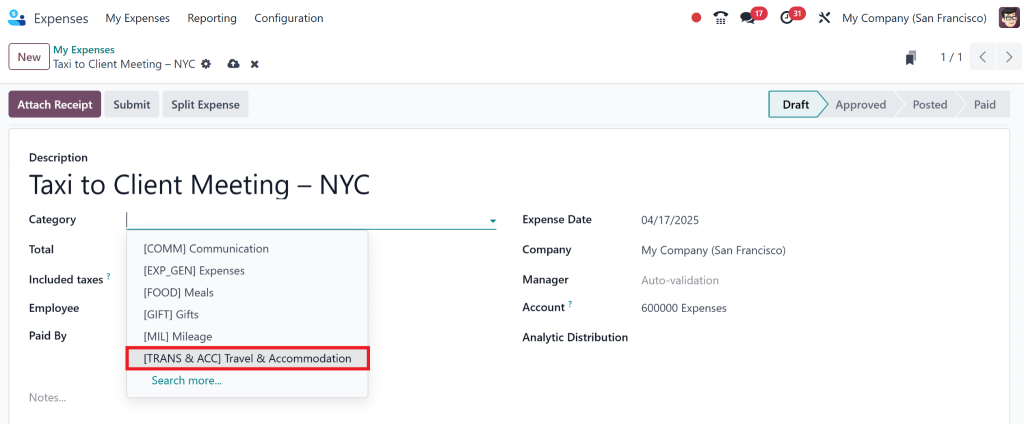
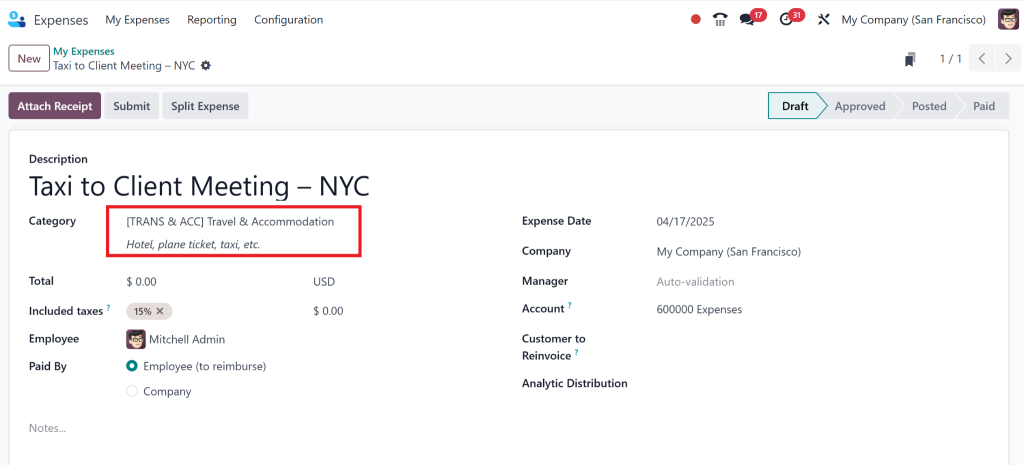
Product: Choose from predefined options, such as meals, Fuel, Travel & accommodation etc.
Then it will be shown like this:
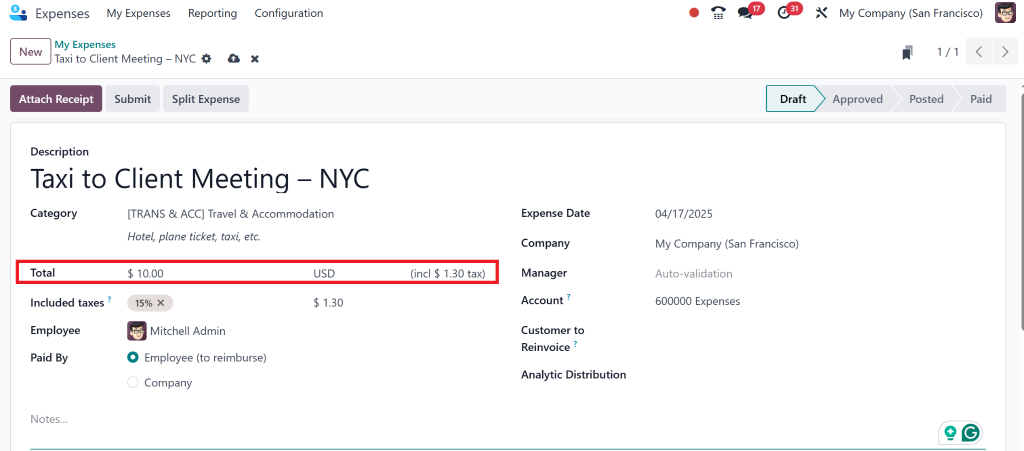
Amount: Input the exact cost
Date: When the expense occurred
Analytic Tags/Accounts: Optional but helpful for reporting
That is your first Odoo expense entry in under 2 minutes!
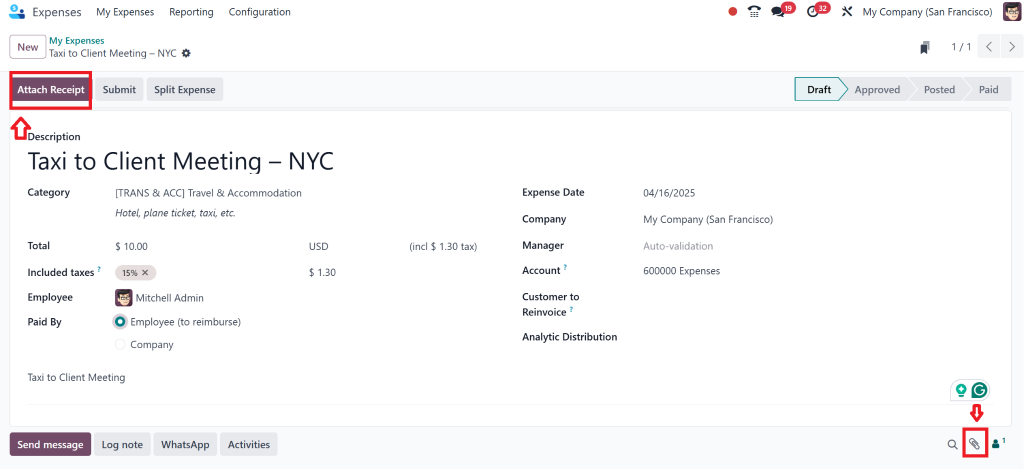
Step 3 – Attach a Receipt and Submit for Approval
Click on Attach Receipt or the paperclip icon 📎 to upload a scanned receipt or photo
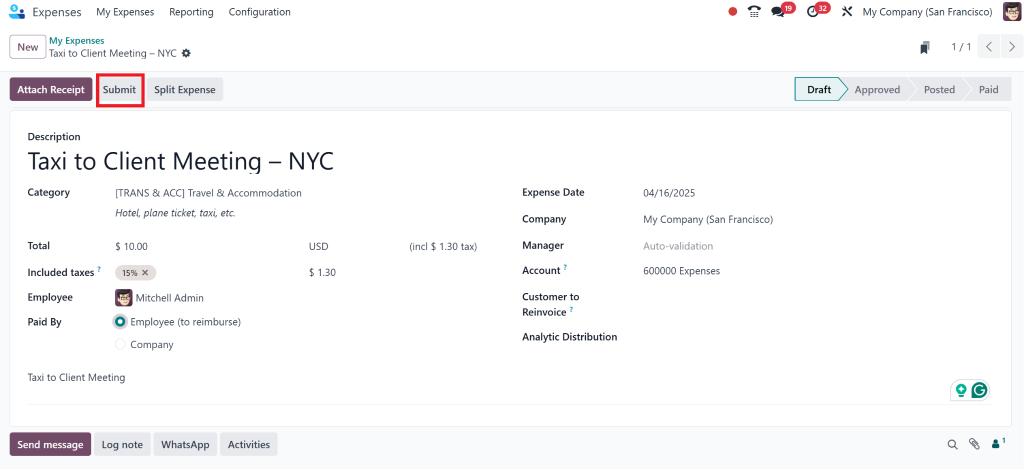
Hit Submit to Manager once you’re done
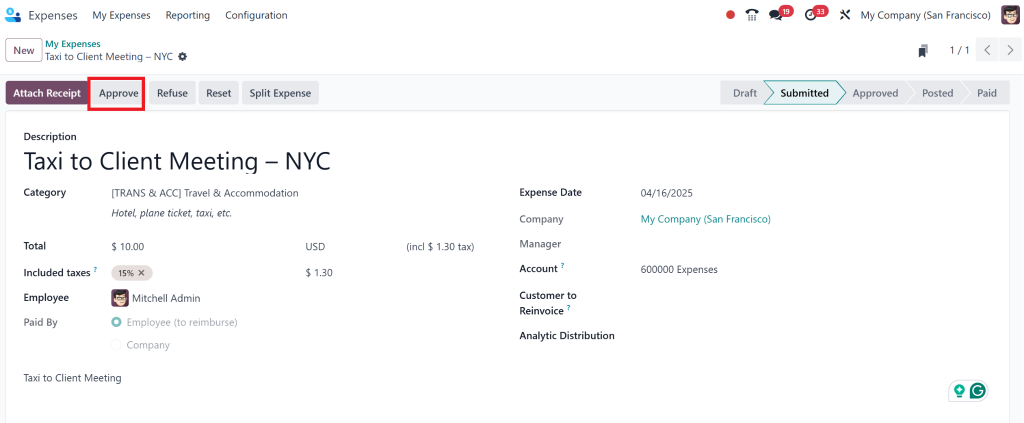
Furthermore, the Manager can now submit this for approval or use alternative options based on the situation.
That ensures your expense is routed for validation and approval.
This simple flow makes Odoo expense tracking accurate and lightning-fast.
Top Features of the Odoo 18 Expenses App You Should Be Using
Now that you know how to log expenses in Odoo, here’s what else this app can do.
Features Built for Businesses
Reimbursements Linked to Payroll
Advanced Filtering by Department, Employee, or Category
Odoo expense report generation by date, department, or tags
Hi, I'm Nabia, an Odoo ERP functional & technical content writer. I specialize in blogs, social media content, ad copy, landing pages, service pages, and email campaigns.
We use cookies to ensure that we give you the best experience on our website. If you continue to use this site we will assume that you are happy with it.